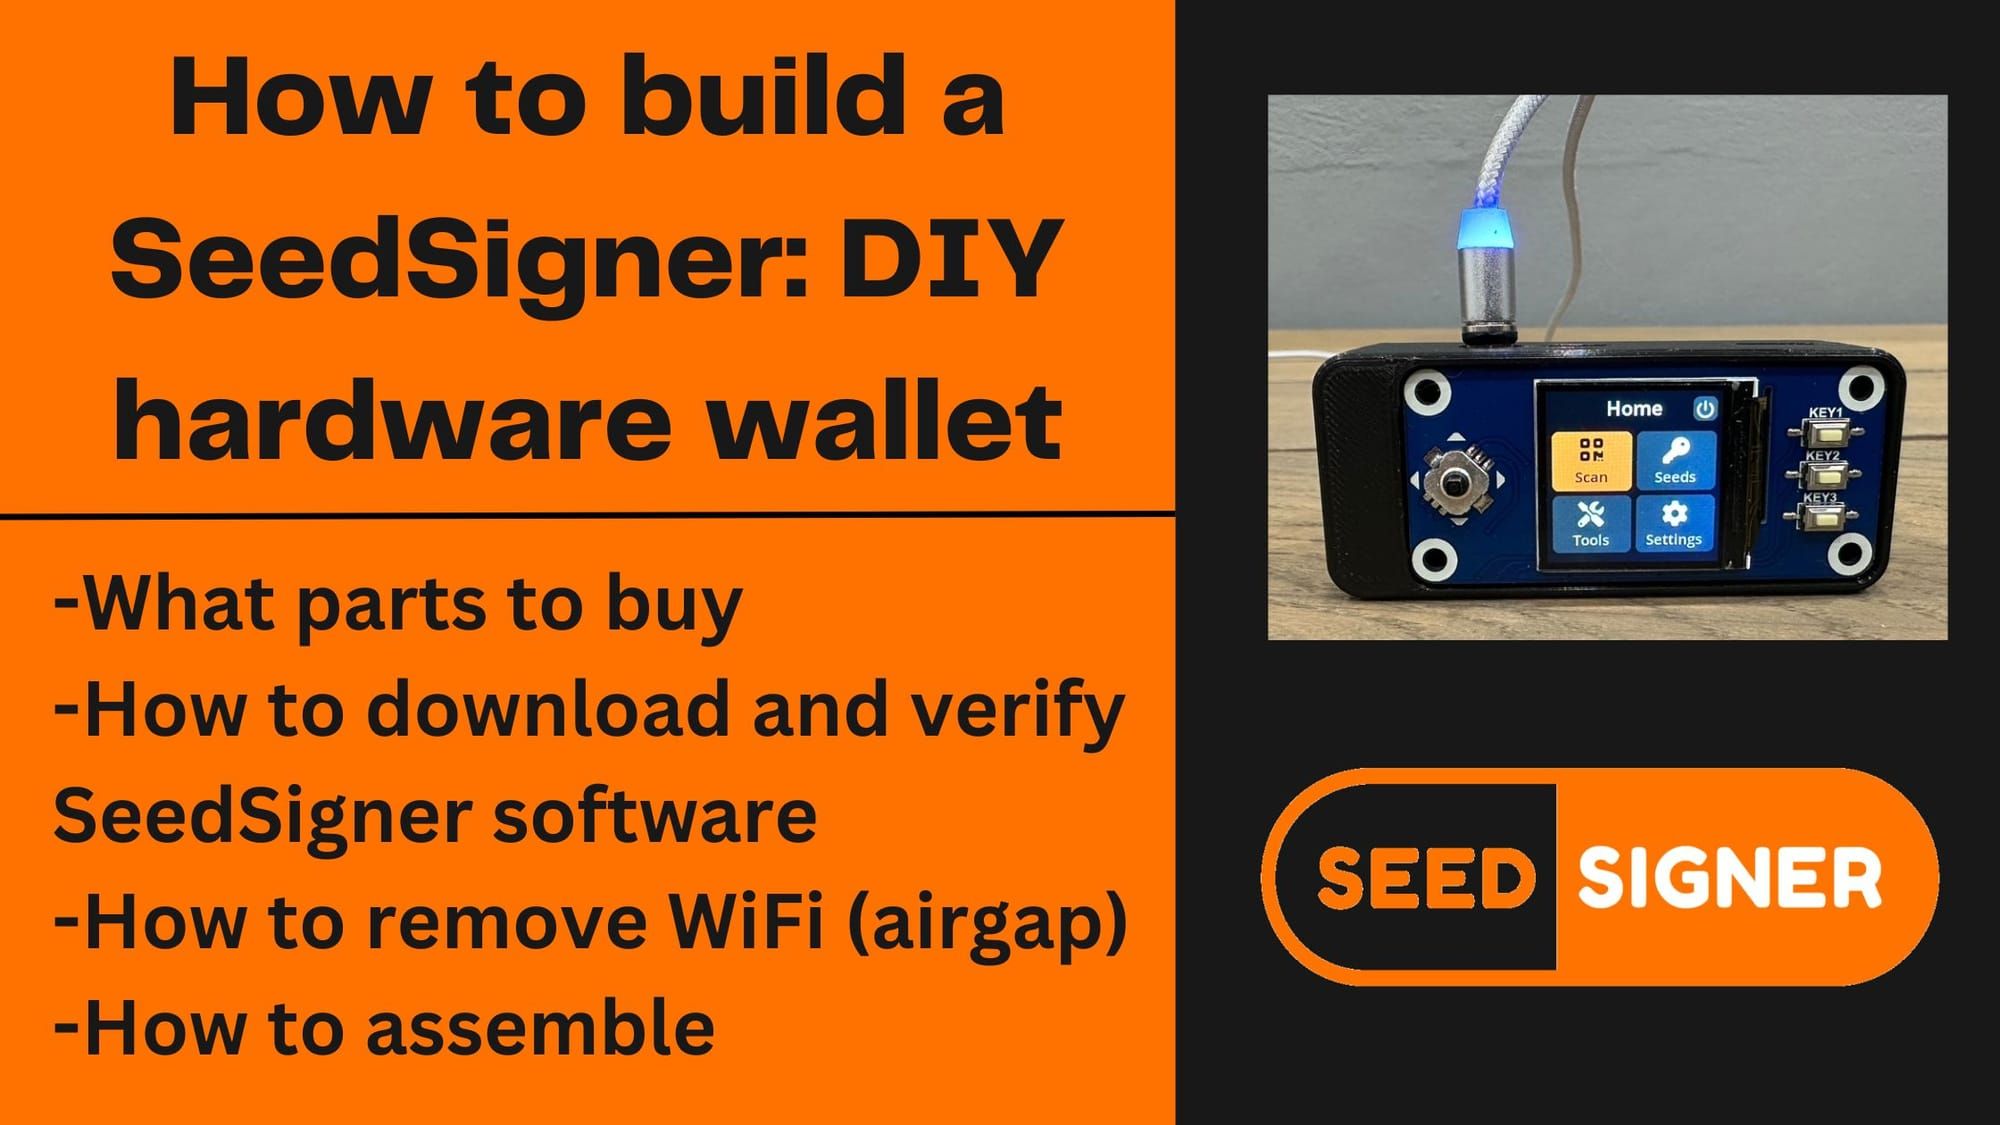
How to build a SeedSigner
How to build a SeedSigner: What parts to buy, how to download and verify, how to assemble.
This written SeedSigner guide is based on this video:
Hardware Required to Build SeedSigner
SeedSigner is fully DIY, and you will need to go out an purchase the parts yourself. Here is everything you need:
- Raspberry Pi Zero
- WaveShare LCD Hat 240x240
- Pi Zero compatible camera
- MicroSD card
Step 1: Download the Software
Once you have all the parts needed to build your SeedSigner, it's time to download the Free Software:
- Open SeedSigners GitHub page, here: https://github.com/SeedSigner/seedsigner
- Scroll down to “Downloading the software”
- Download the latest release for your specific hardware. In my case, I download the release for “Raspberry Pi Zero W”
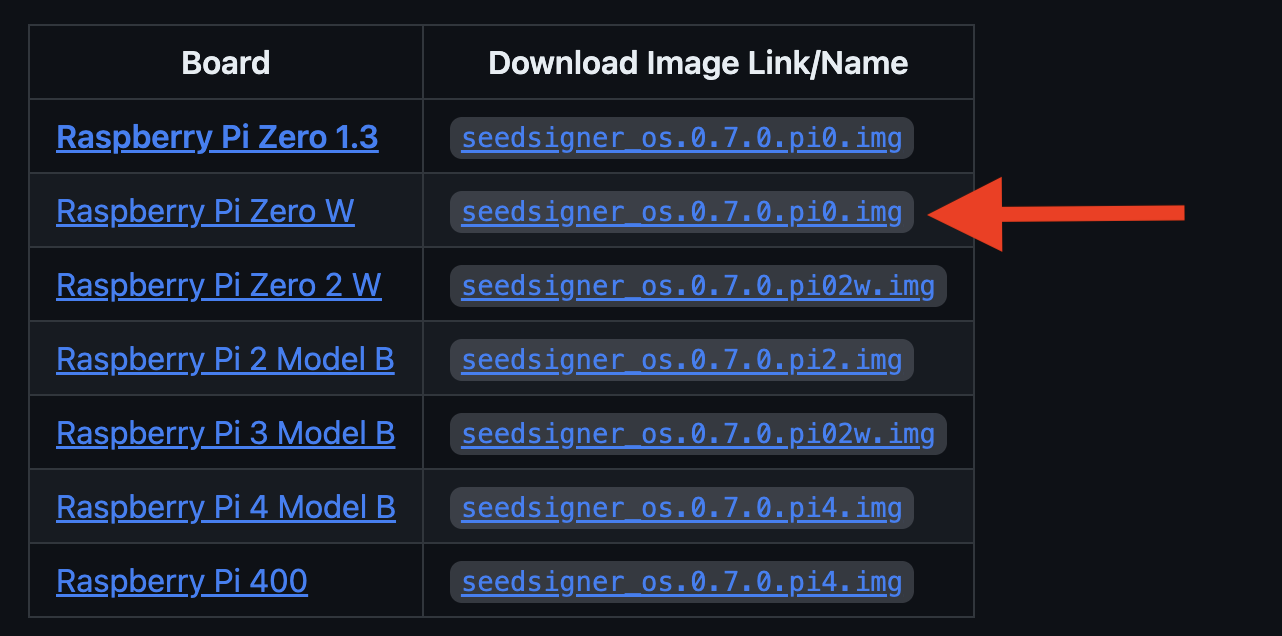
- That will now download to your computer.
- Optionally, you can verify the software to ensure you have downloaded the correct version. This process is shown in detail in this video.
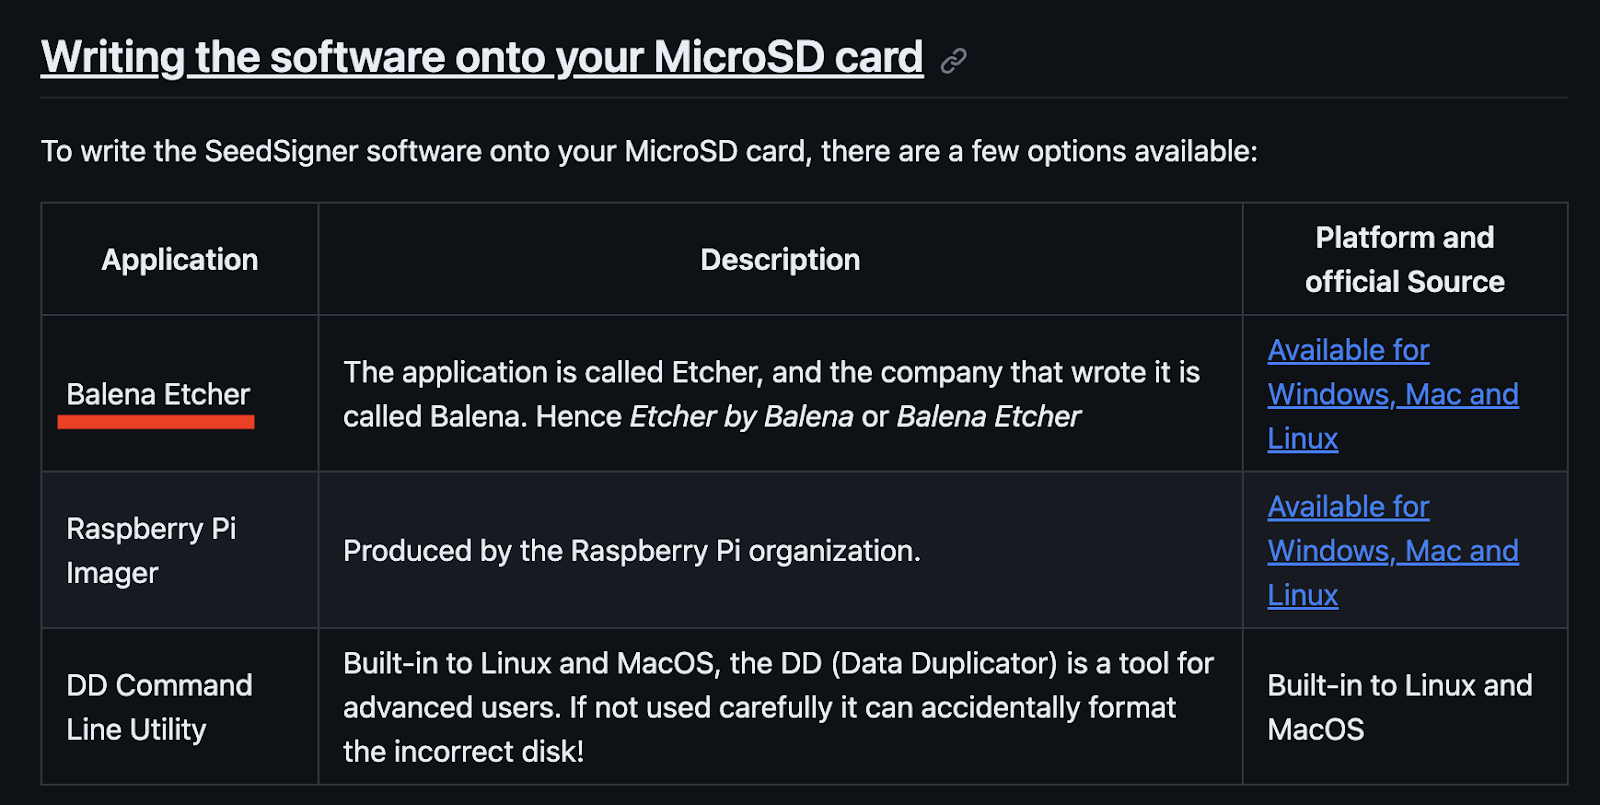
Step 2: Flashing the software
In SeedSigners GitHub, scroll down to the table entitled “Writing the software onto your MicroSD card”. You will need to download Balena Etcher for your operating system:
Now, plug your SD card into your computer and open Balena Etcher:
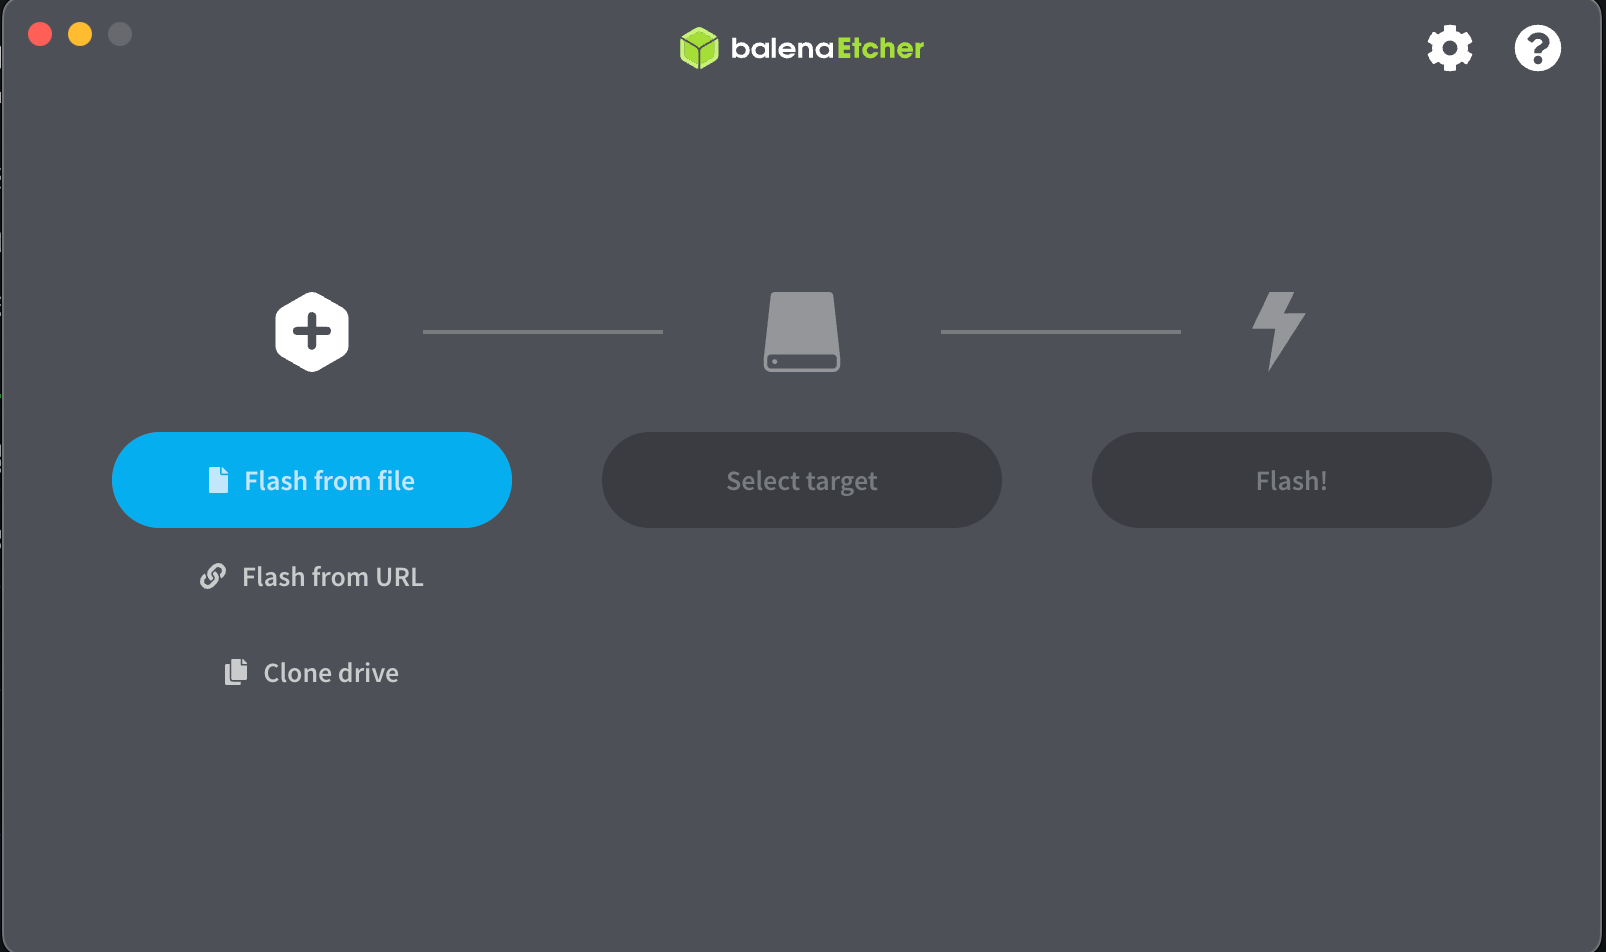
- Click “Flash from file”
- Select the SeedSigner file you downloaded.
- Click “select target”,
- Select your Micro SD card as the target.
- Now click “Flash!”.
After this process is complete, the SeedSigner software will be flashed onto the SD card.
Step 3: Assembly
Now that we have SeedSigner on the SD card, we can go ahead and build our device. Note that the build process is a lot easier to follow visually, so I suggest watching the video instead: https://youtu.be/mGmNKYOXtxY?t=804
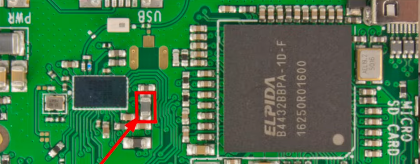
- Optionally, you can remove the Wi-Fi chip from the Raspberry Pi by removing the following component, outlined in red:
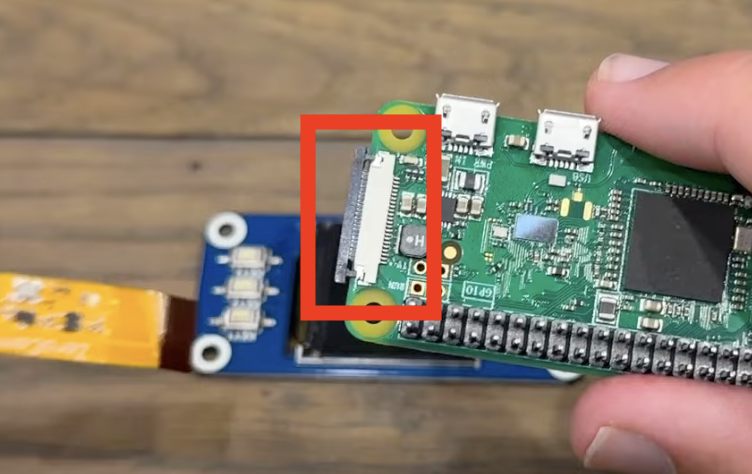
- The first step is to loosening the black flap on the left side of the board:
- Next, insert the camera into that flap. Make sure the camera and the board are both facing upward.
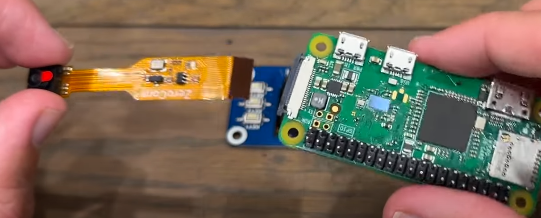
- Ensure that the brown strip is facing upward as well. Once inserted, clip the camera into place by applying pressure to the flap.
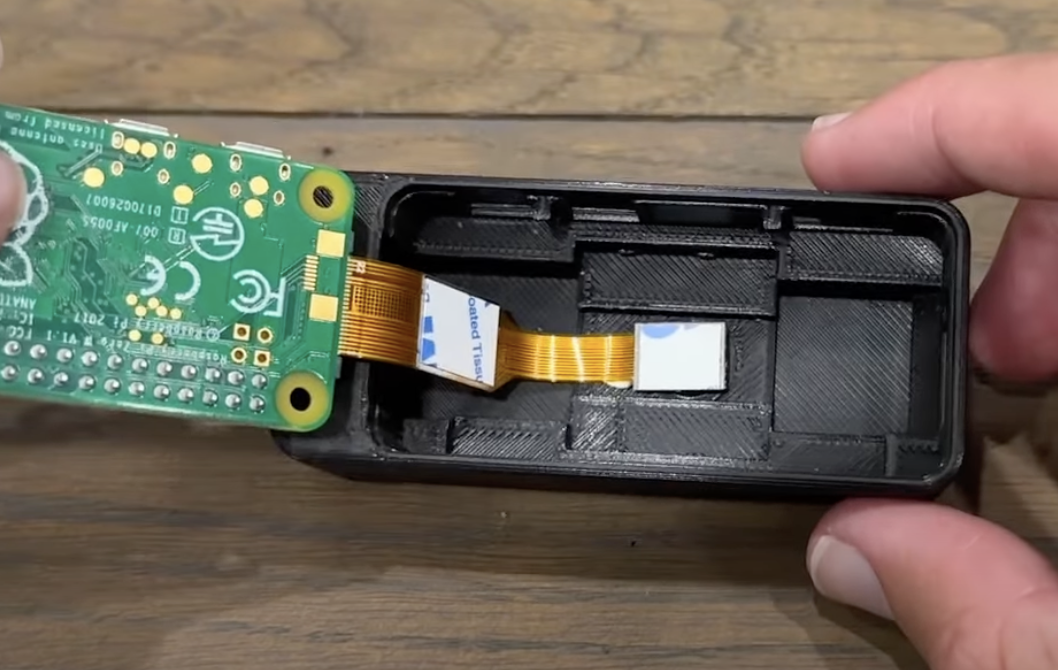
- Now we need to put the camera and the board into the case.
- Start by adding adhesive to the inside of the case, next to the hole that will house the camera lens. This is to hold the camera in place after inserting it.
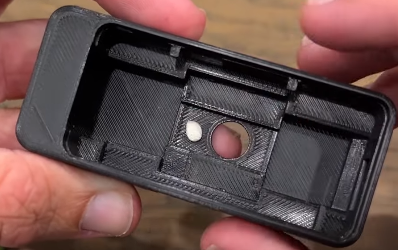
- Insert the camera into the casing and ensure that it is secured by the adhesive and in line with the lens opening.
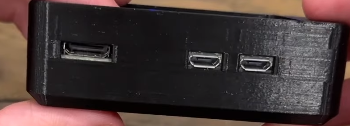
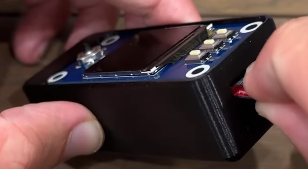
- Insert the board into the case, ensuring that the ports line up with the port openings.
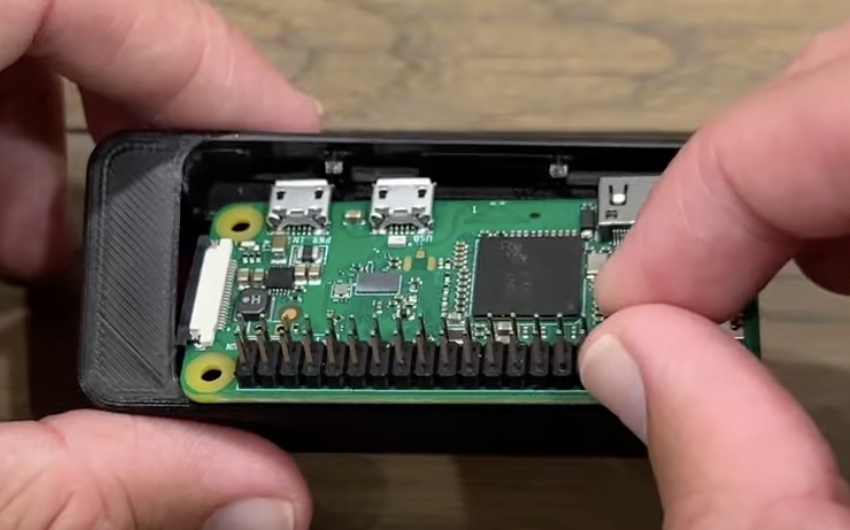
- Once the board is inserted correctly, the ports will align as follows:
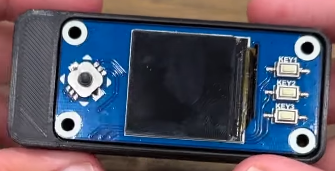
- Next, attach the screen to the Pi board by aligning the pins on the board with the holes on the backside of the screen.
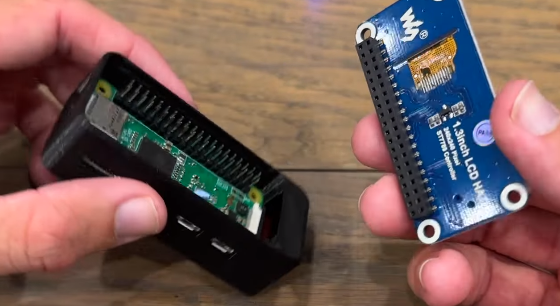
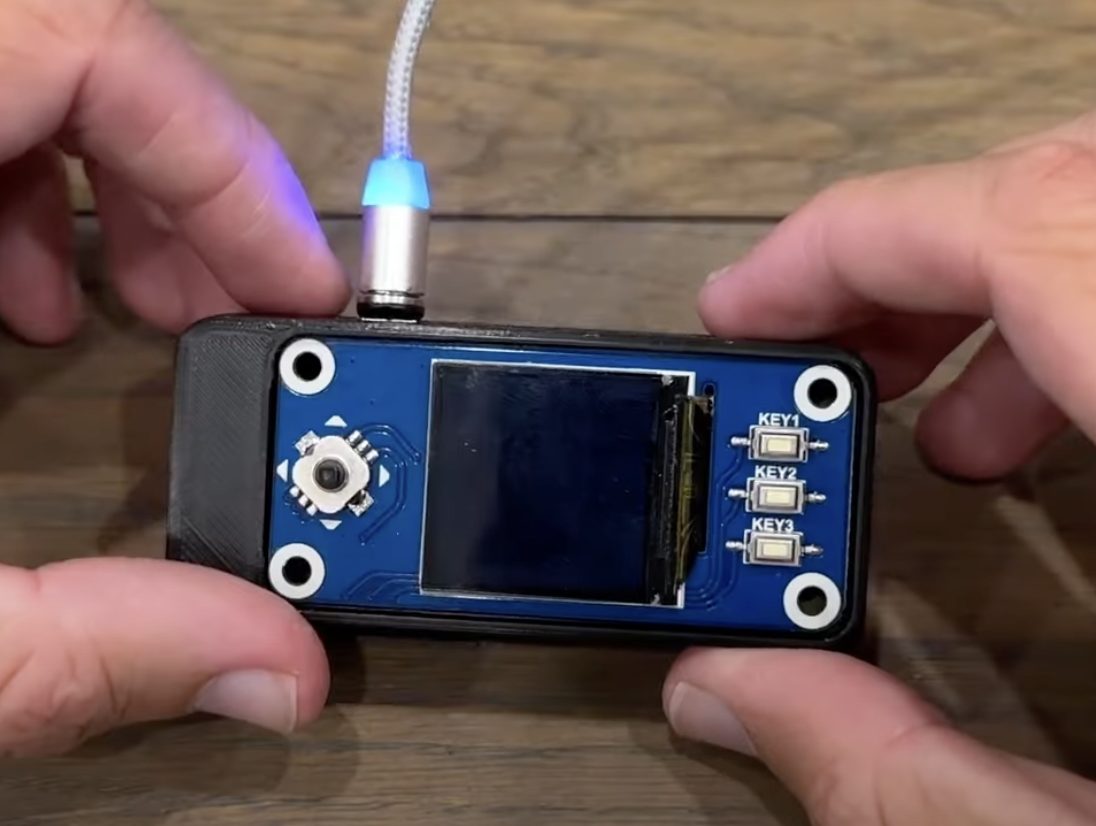
- Once the pins are aligned, gently apply pressure to connect the two components. It will look like this:
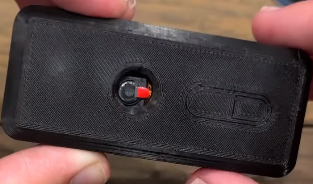
- Insert the SD card
Once running, the SeedSigner will show the home screen:
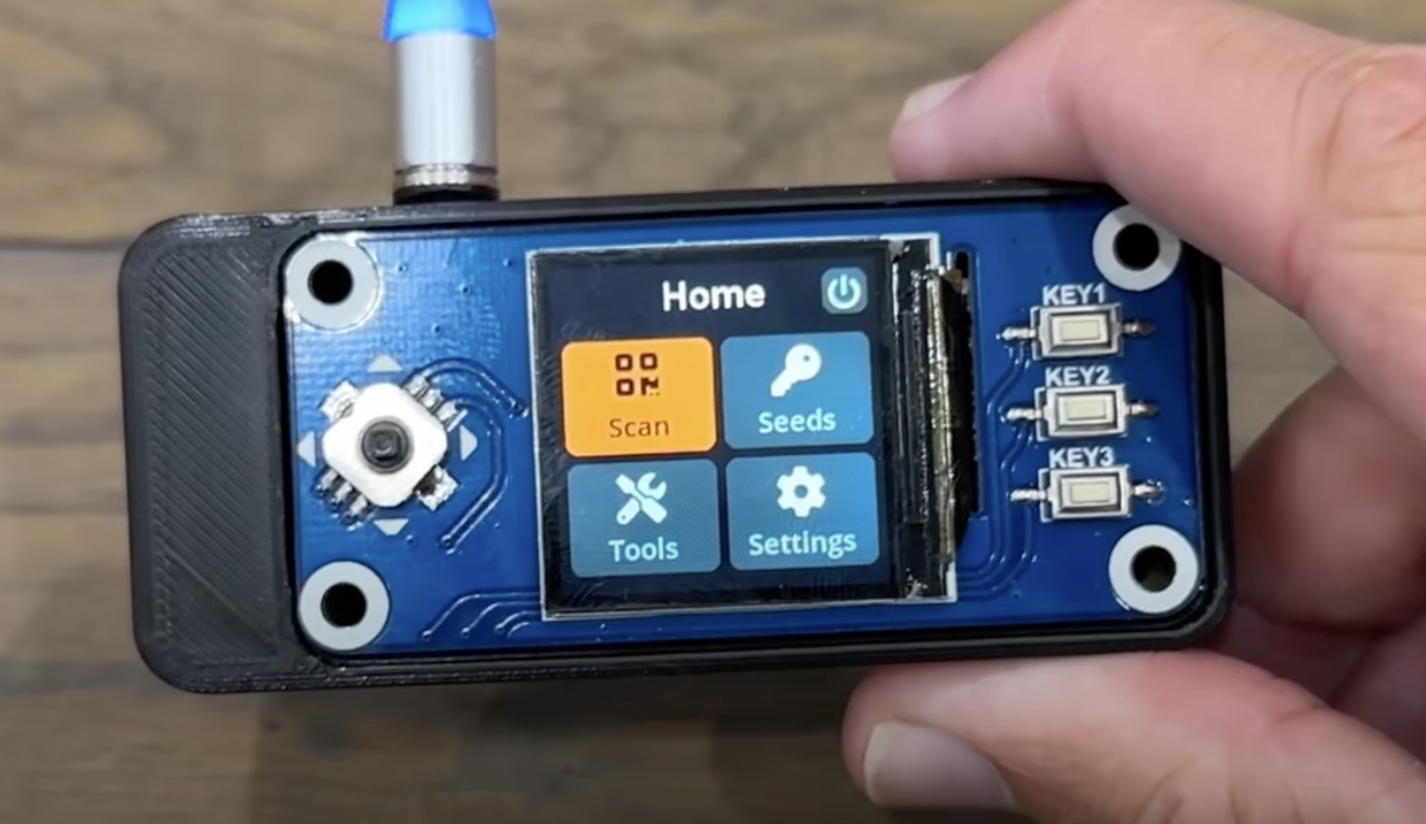
Boot up the device by connecting it to a power source.
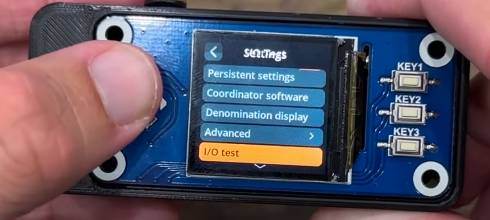
Step 4: IO test and settings:
- Go into ‘Settings’ and open the I/O Test option. This will allow you to verify that the parts are responding and the components are working.
- Perform the I/O test and make sure all your parts work.
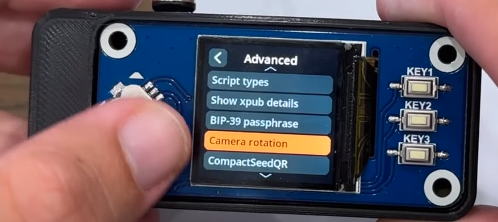
- If your camera is rotated incorrectly or is upside down, this can be fixed in the Settings tab. Open Settings and scroll down to ‘Advanced’. Then, click on ‘Camera Rotation’ and select 180 degrees.

- In order to save these settings, go back to the first ‘Settings’ menu and click on ‘Persistent Settings’. Ensure that this is enabled.
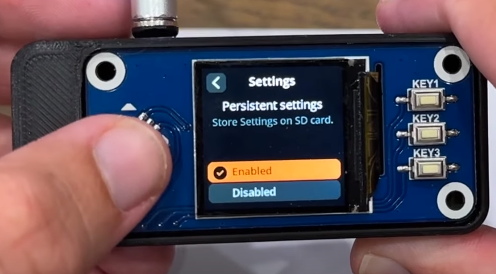
Upon completion of these steps, your SeedSigner will be up and running.